Colador
August 8, 2026
Stakeholders
- Registered Student Organizations at the University of Oklahoma
- Subsequently, students and faculty at the University of Oklahoma
- External non-OU affiliated users interested in RSOs
Background
Any RSO at OU that uses a public Discord server as a primary source of communication has probably dealt with bots. They can be quite annoying with their spammy messages; and even a liability with their scams “offering” up their old Macbook or camera for “free”. Moreover, many of these messages and bots often go unnoticed until an admin (a student who probably, doesn’t have time to moderate a server all day) finally takes care of them. And, even if they do, it’s often a game of Whac-A-Mole with a new bot appearing some other random day. With LLMs and automation, the issue certainly hasn’t gotten easier to deal with as it is now more than ever easy to create bots en masse that bypass Discord’s own verifications.
Problem Statement
With the increasing prevalence of bots targeting their Discord servers, RSOs need a verification system that can effectively block these bots while remaining non-intrusive and easy to use for their members.
Requirements
- Identify real server members and block all bots
- Offer a system that is easy to use in which members can verify themselves
- Offer an alternative flow if members do not want to verify themselves
Proposal
Luckily, most real traffic that reaches these servers comes from OU students and
faculty. And… they all have Microsoft 365 accounts which means we can verify the
authenticity of new members through an OAuth2 flow with Microsoft’s identity platform.
i.e. we can ask new members to login through a verification website with their OU
Microsoft account. Since this is an OAuth2 flow (e.g. like those Sign in with Google
or Sign in with Apple buttons), we can safely verify the authenticity of members
without having them pass sensitive information or credentials. At most, only their
email address and name would be received. Information of which would be discarded after
verification. (Note: Actual verification does not depend on the email, but what type
of Microsoft account was used to log in. i.e. that the login was from an OU Microsoft
account).
Setup Instructions
As of 8/8/26. This proposal has been fully implemented! Design specifications will be shared in this document or another at a later date. What now follows are instructions for how to use Colador as an administrator of an RSO’s Discord server.
0. Prerequisites
-
If you will be using your own account, make sure that your account has permissions to add invite Discord Bots to the server.
-
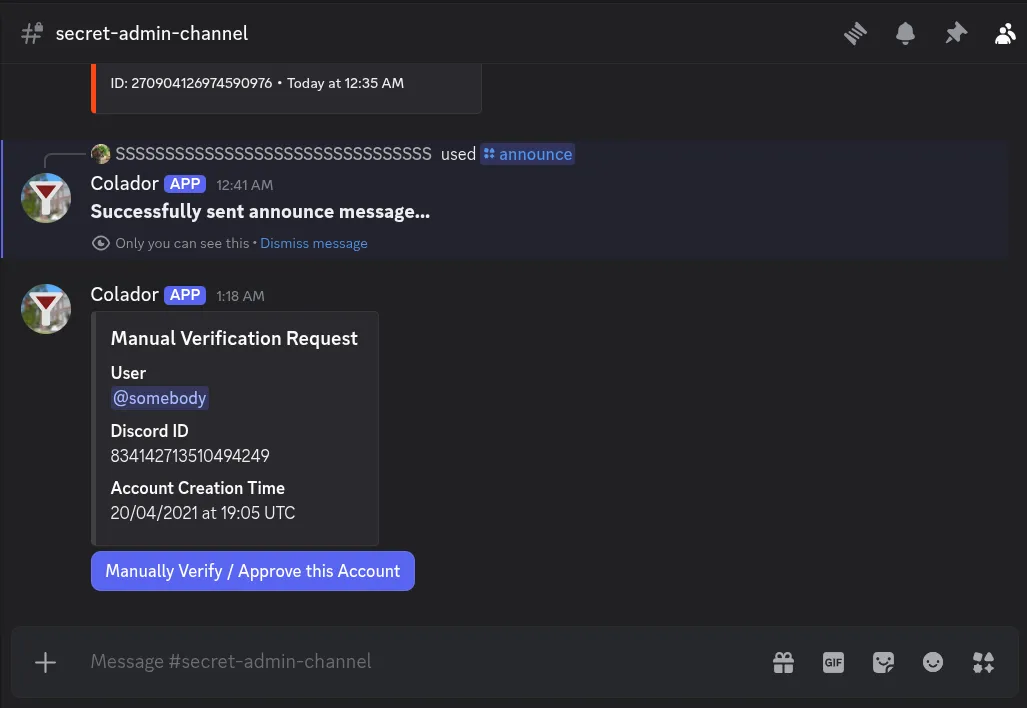
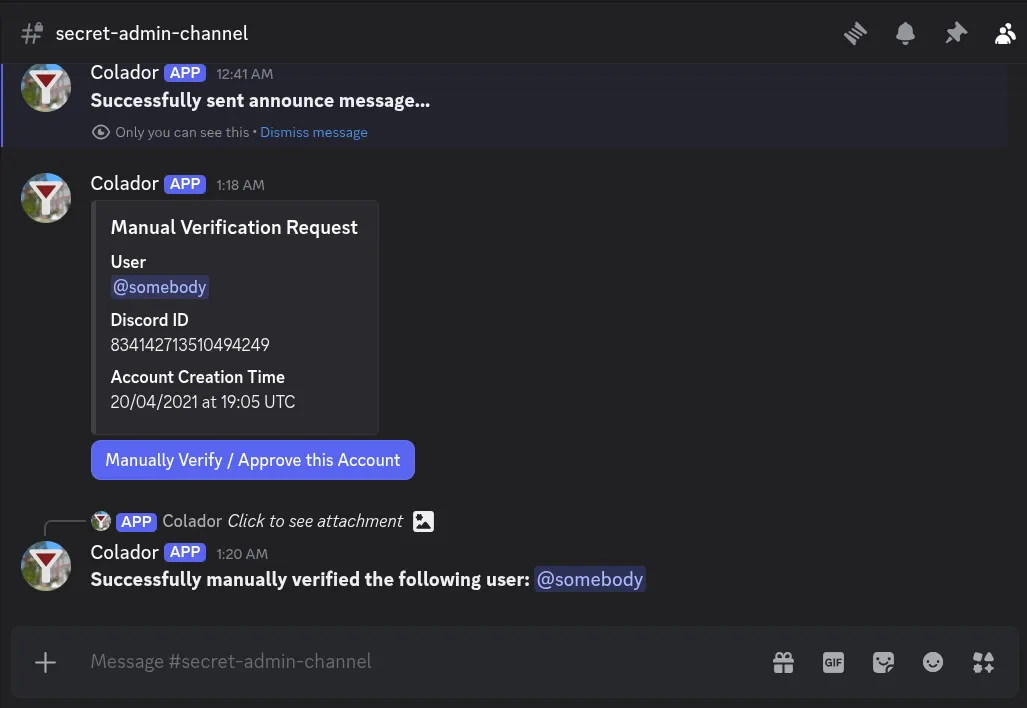
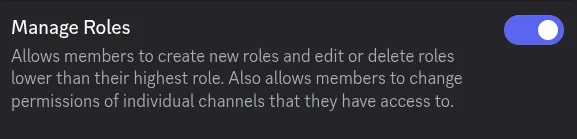
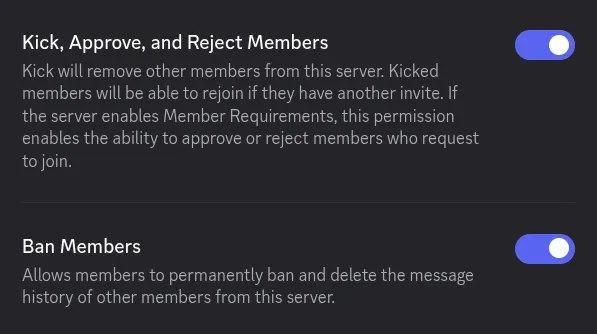
Ensure that you are a moderator of the server. This will allow use to initialize Colador and approve manual verification requests (if configured).
- This means that your account has permissions to…
Kick MembersBan MembersManage Roles
- This means that your account has permissions to…
1. Invite Colador
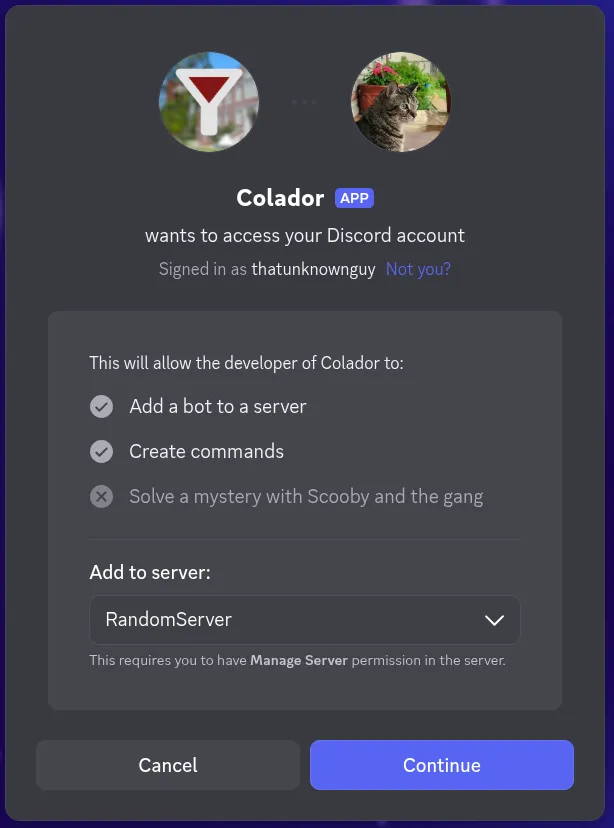
Invite the Colador Discord bot to your server with the invite link (not provided here).
2. Modify the @everyone role and create a new “Verified” role (Set up your server for a verification requirement)
For this step, you don’t have to follow everything as exactly written. It is up to you based on how the roles in your server are set up. The only thing to note is that on verification of a user, the “Verified” role will be added to the user. Note: The role doesn’t literally have to be called “Verified”. And, also note that this is only one method of setting up a verification requirement, though I believe this is the easiest and least destructive to set up.
2.a Modify the @everyone role’s permissions such that the default is that it cannot view channels
In practice, this creates a “blindfold” in which, by default, new members cannot see any channel. Consequently,
this adds the requirement of a role giving back the View Channels permission (the “Verified” role)
- In Server Settings > Roles > Default Permissions (@everyone) > Permissions
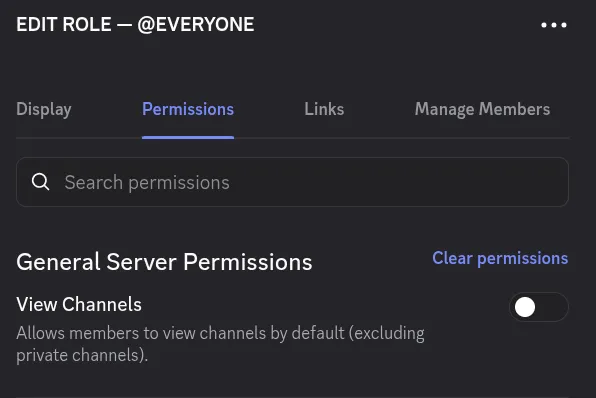
2.b Create a “Verified” role
This role gives back the View Channels permission. Removing the “blindfold”.
- In Server Settings > Roles > Default Permissions (@everyone) > Permissions
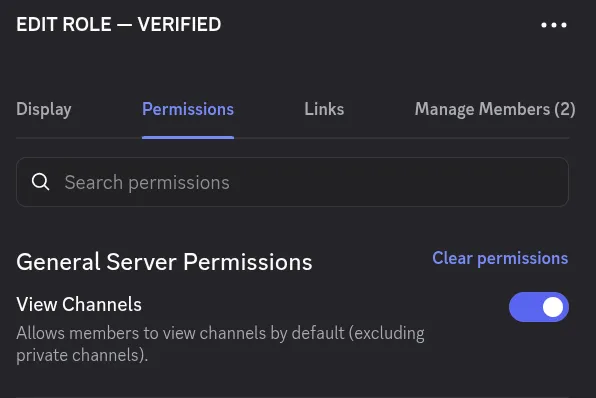
WARNING: The hierarchy (the order) of the roles is SO SO SO important. The bot’s role (Colador) MUST be above the “Verified” role. Otherwise, the bot CANNOT manage the “Verified” role by adding it to users that are successfully verified. These roles can be as low as you want on the hierarchy (being skeptical about permissions), however, the bot will still work if and only if the order is correct.
- In Server Settings > Roles

3. Initialize Colador with the /initialize command
Make sure to choose the appropriate arguments. However, for administrative_channel make sure that you choose an admin / moderator
channel that is not supposed to be public. Furthermore, make sure that the bot has permissions to view and send messages to this channel!
This is where manual verification requests (if enabled with the manual_verify_allowed arg) and other system information will be delivered.
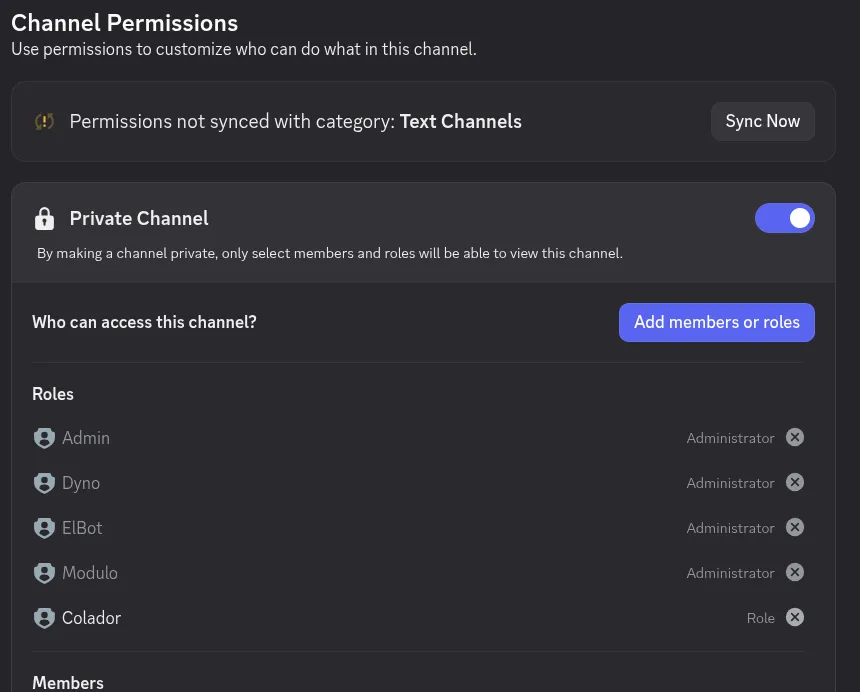

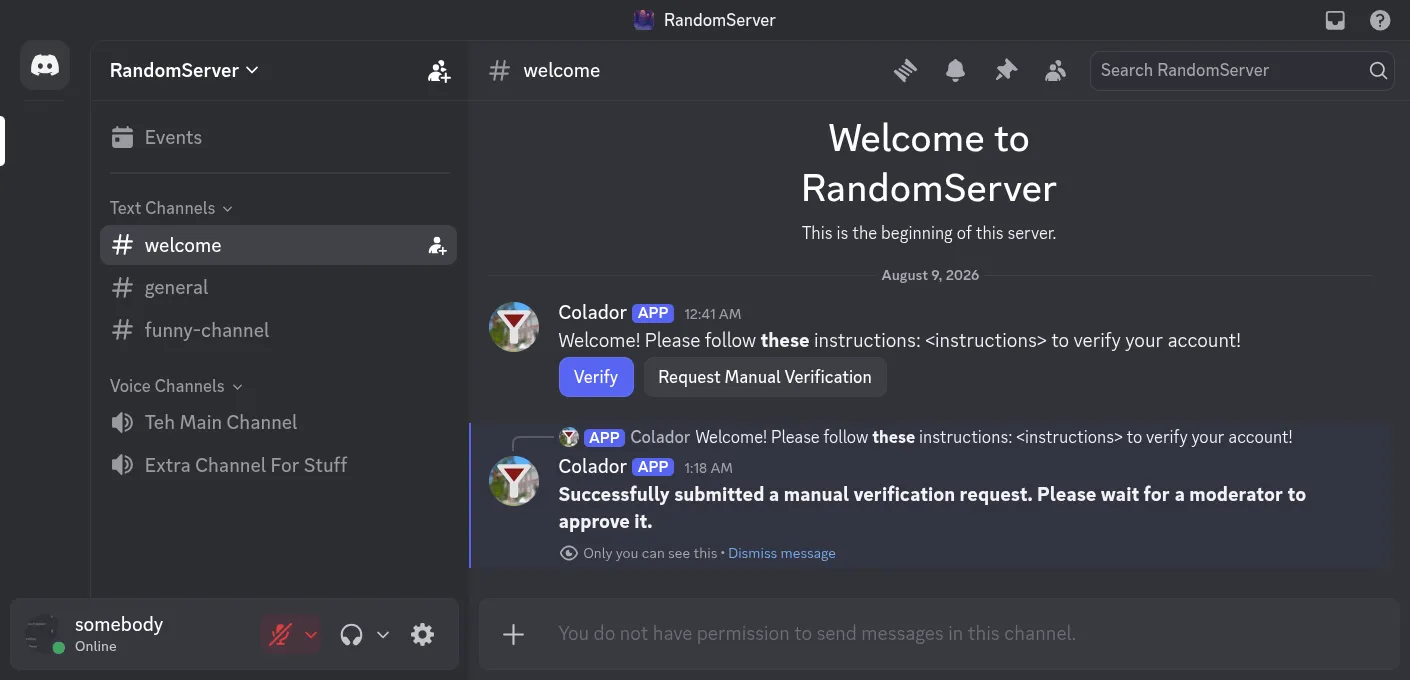
4. Call the /announce command to create a verification information message.
This step is optional for the bot’s functionality. However, it is strongly recommended! Before you call this command, make sure
that you create a “Welcome” channel in which users can see it (though not send messages) by overriding the @everyone permissions.
Note: The bot should have permissions to view the channel and send messages in order to send the announce message!
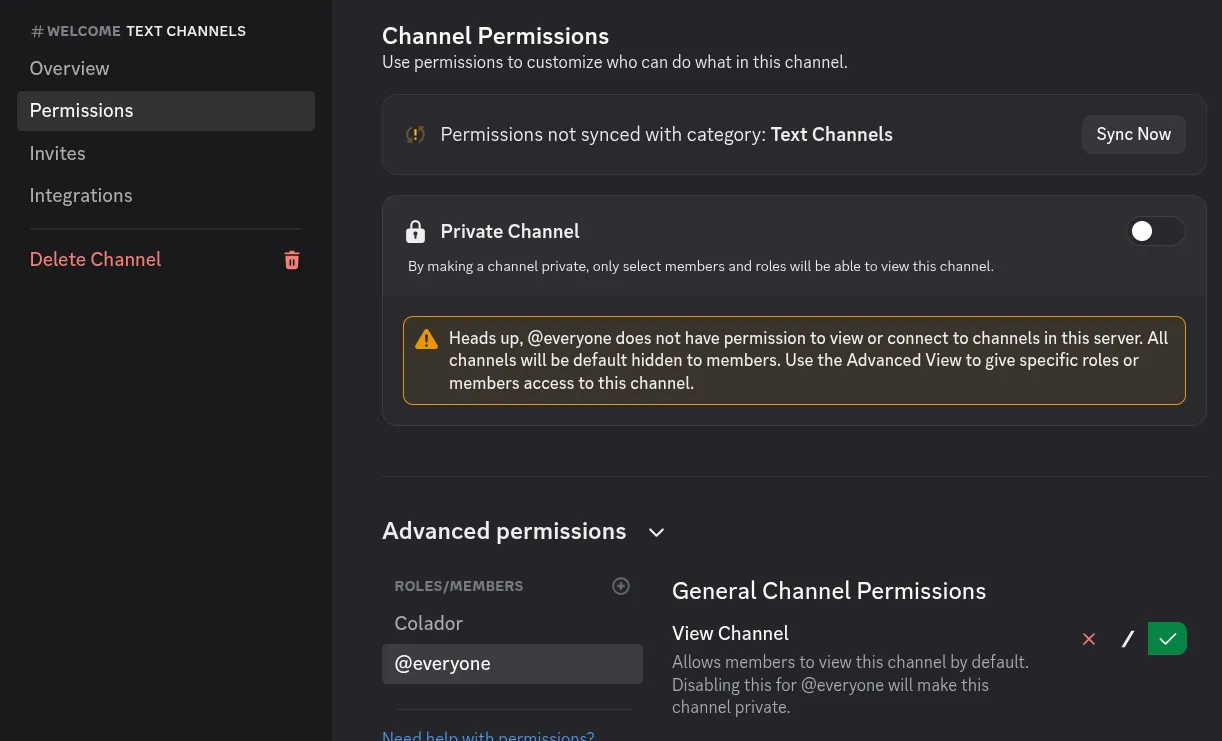
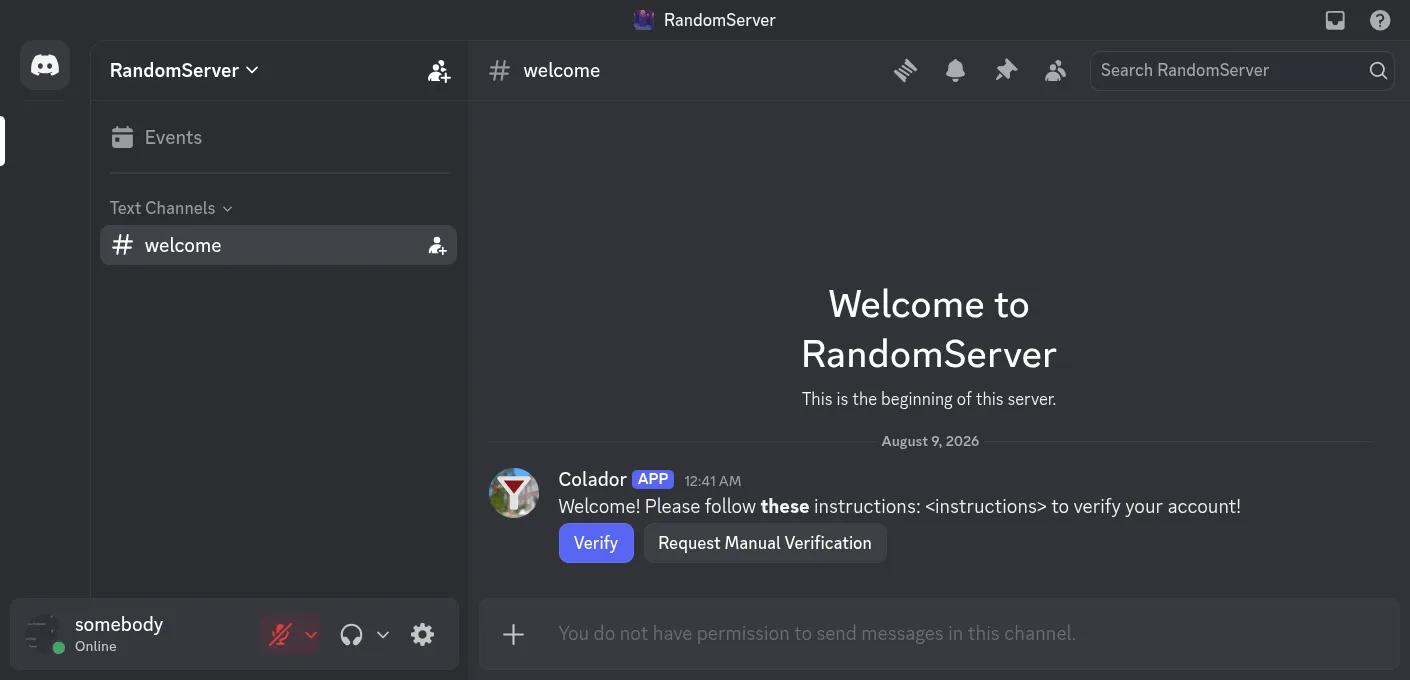
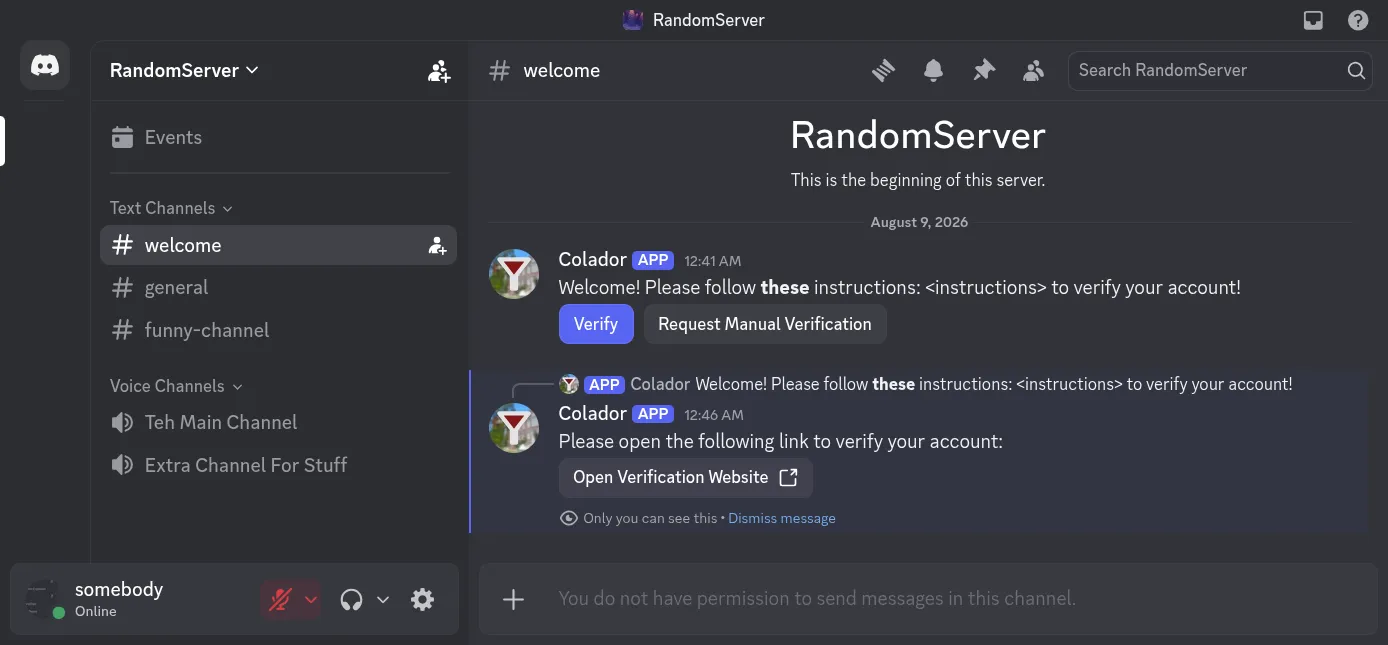
After executing the /announce command, you’ll see a message like this in that channel depending on your arguments.

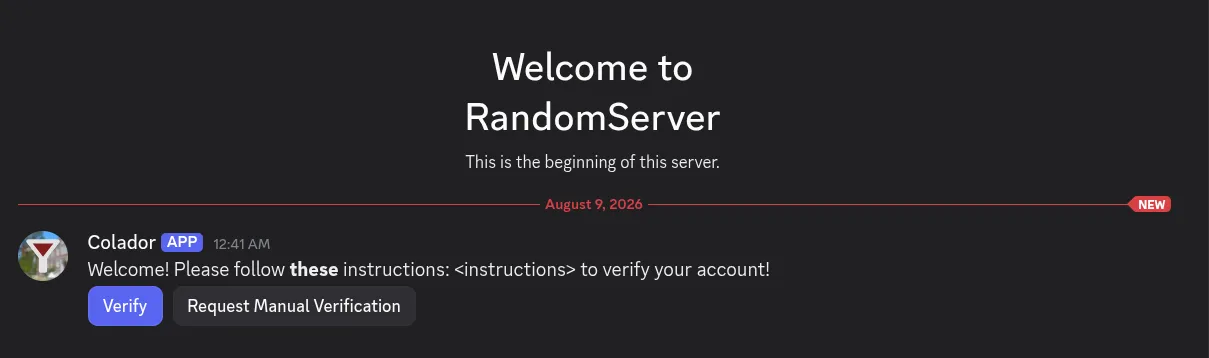
5. Done!
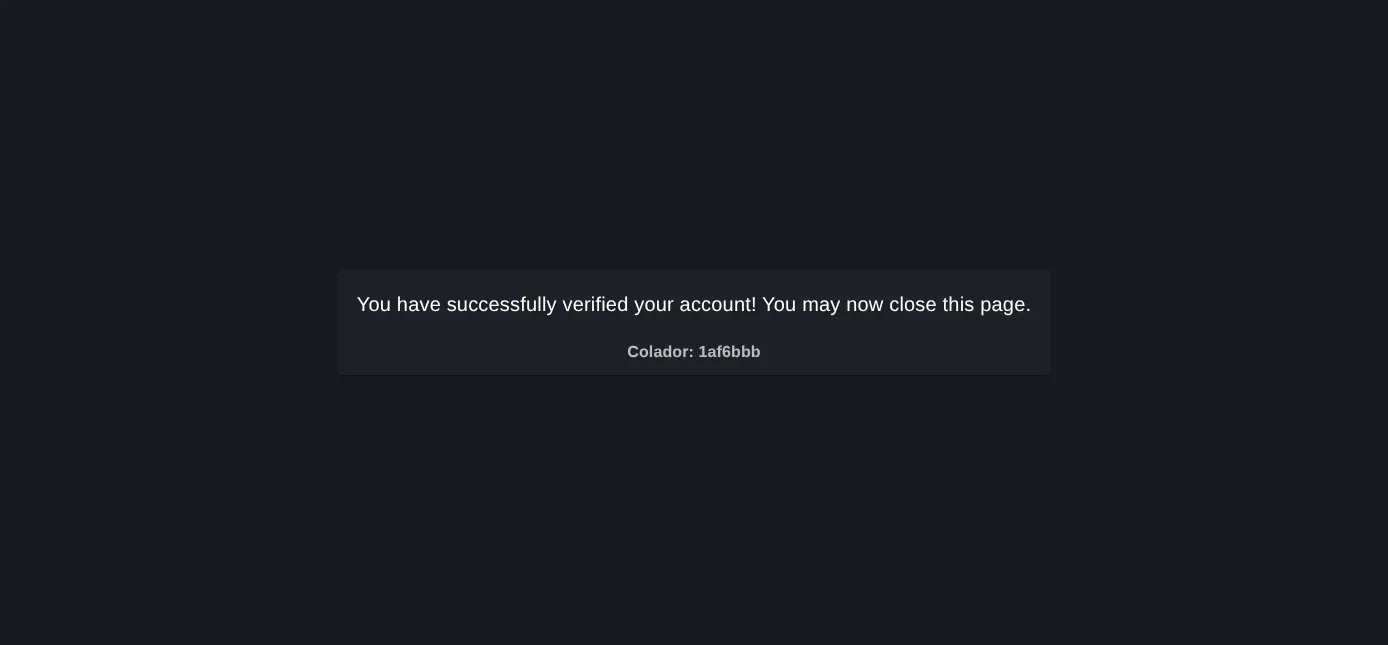
If set up correctly, New members should be able to verify their accounts! See the example flows below…
Self Verification
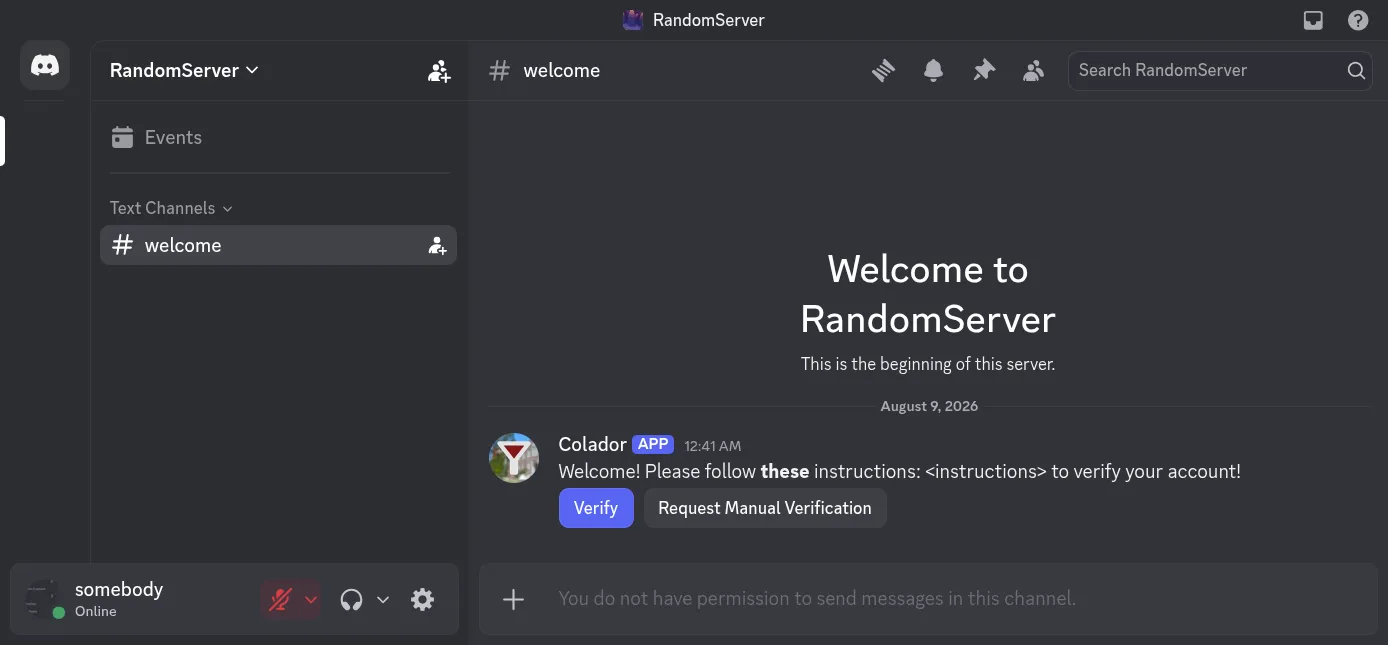
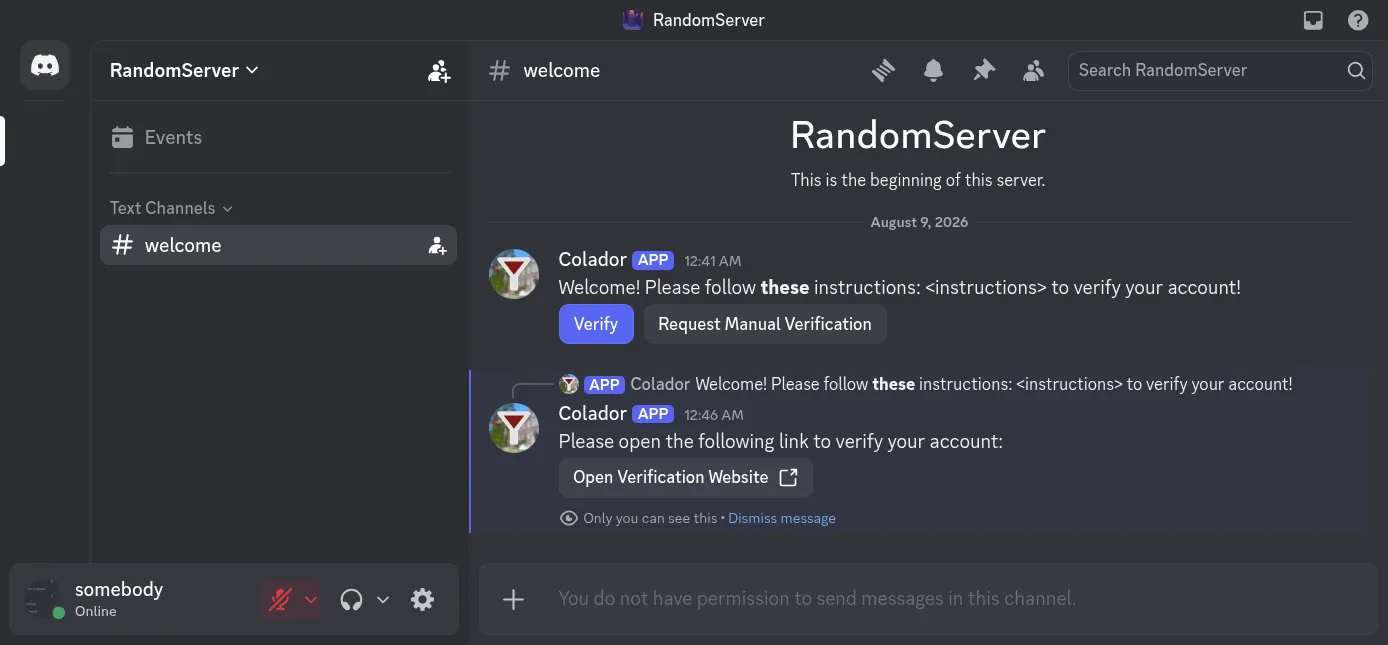
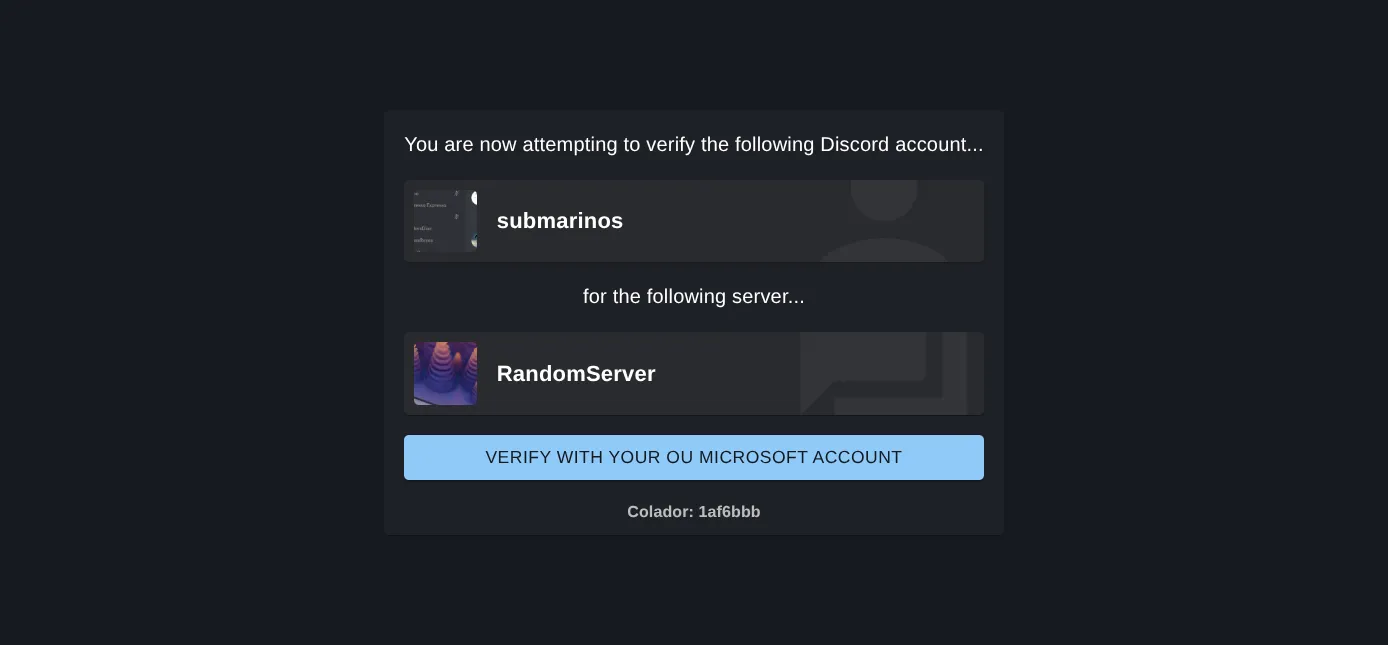
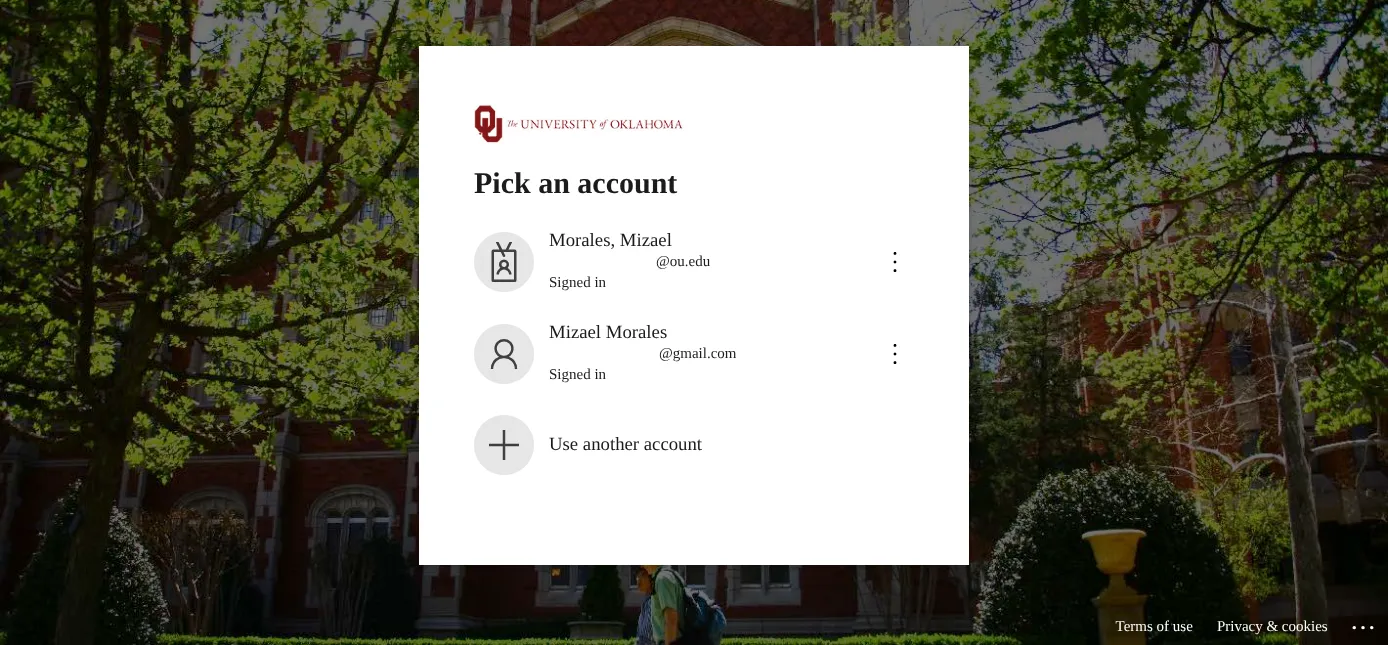
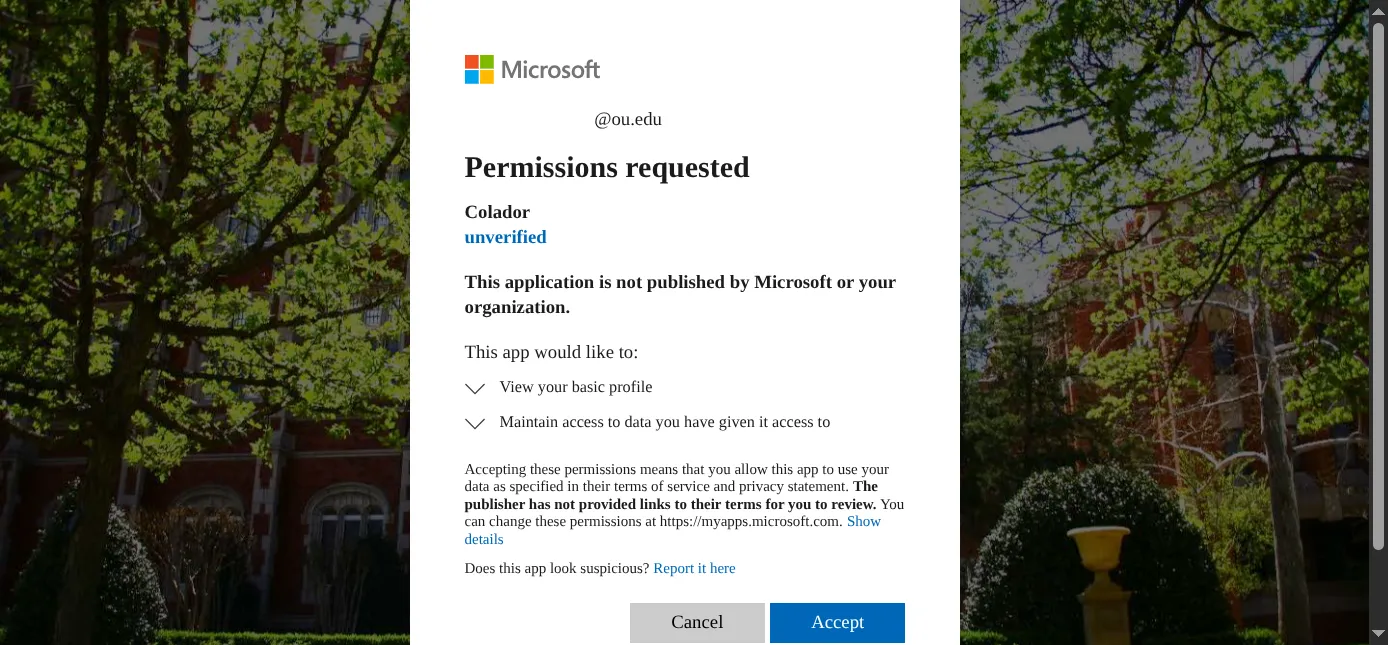
Notice: This is the correct screenshot flow given that the user selects their OU account.
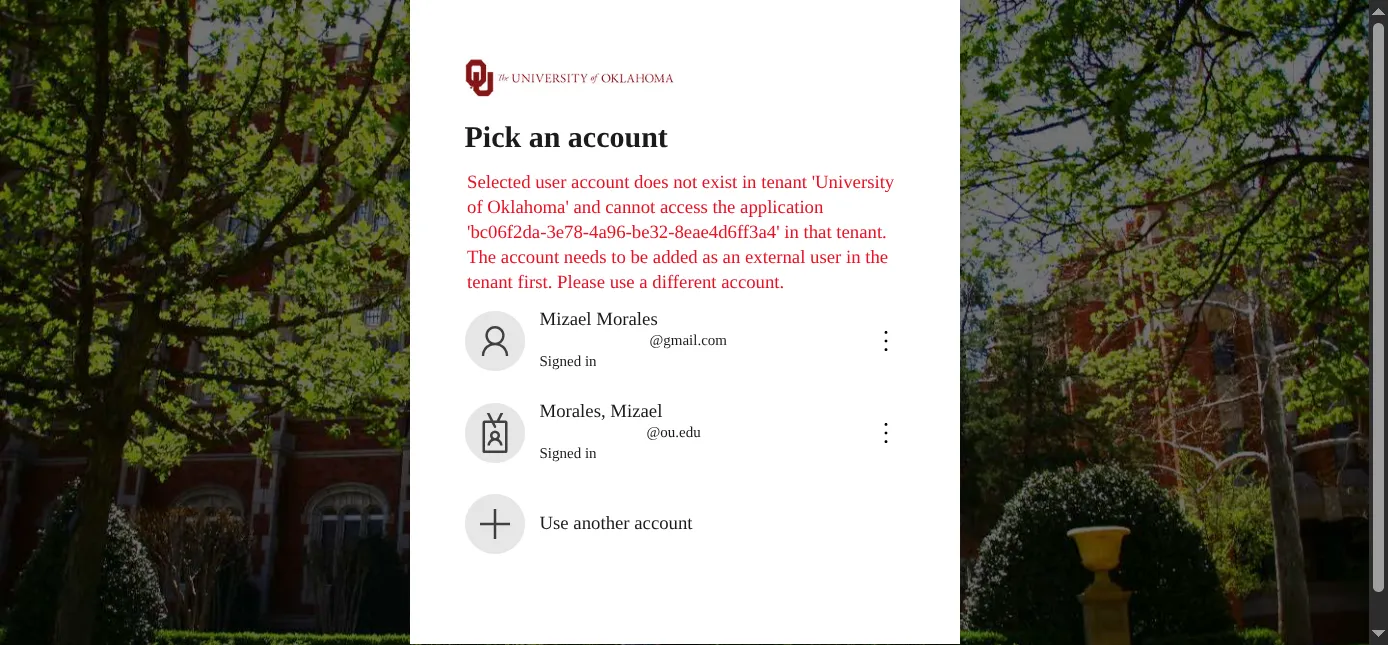
Notice: If a user tries to login with a non-OU Microsoft account. The login will fail.
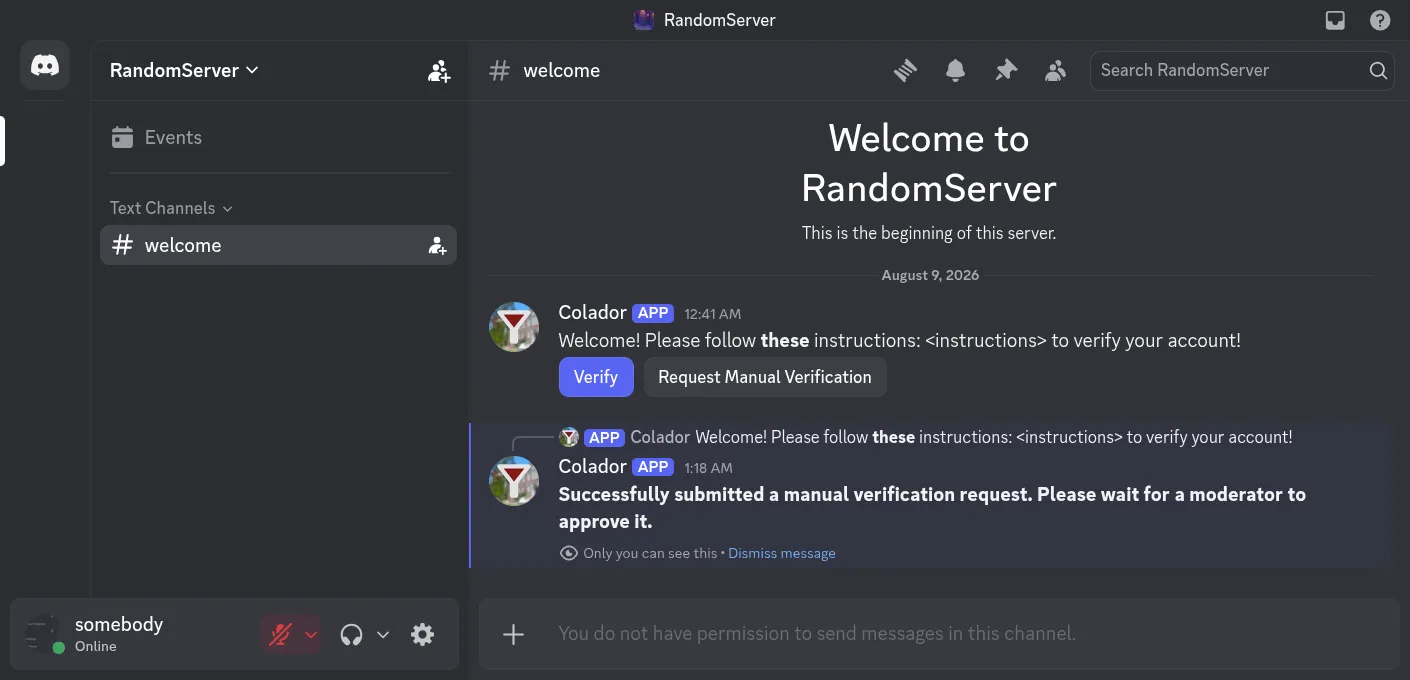
Manual Verification Request